The 'Coupon Card' is your answer to this market need. Attracting new customers, especially in competitive markets, can be tough. This card entices first-time buyers with attractive offers, turning them into repeat customers and expanding your clientele.
Customer Use: Customers use coupons for discounts or special offers.
Business Benefit: Drives customer traffic and sales, especially effective for introducing new products or clearing inventory.
Log in to Loyally.ai >> Go to 'Cards' page >> Select either ('Template' OR 'from Scratch') >> Select 'Coupon' Card Type >> Proceed through Settings, Design, Information, and Save & Preview.
Follow the interactive guide to seamlessly create your digital loyalty card with Loyally.ai.

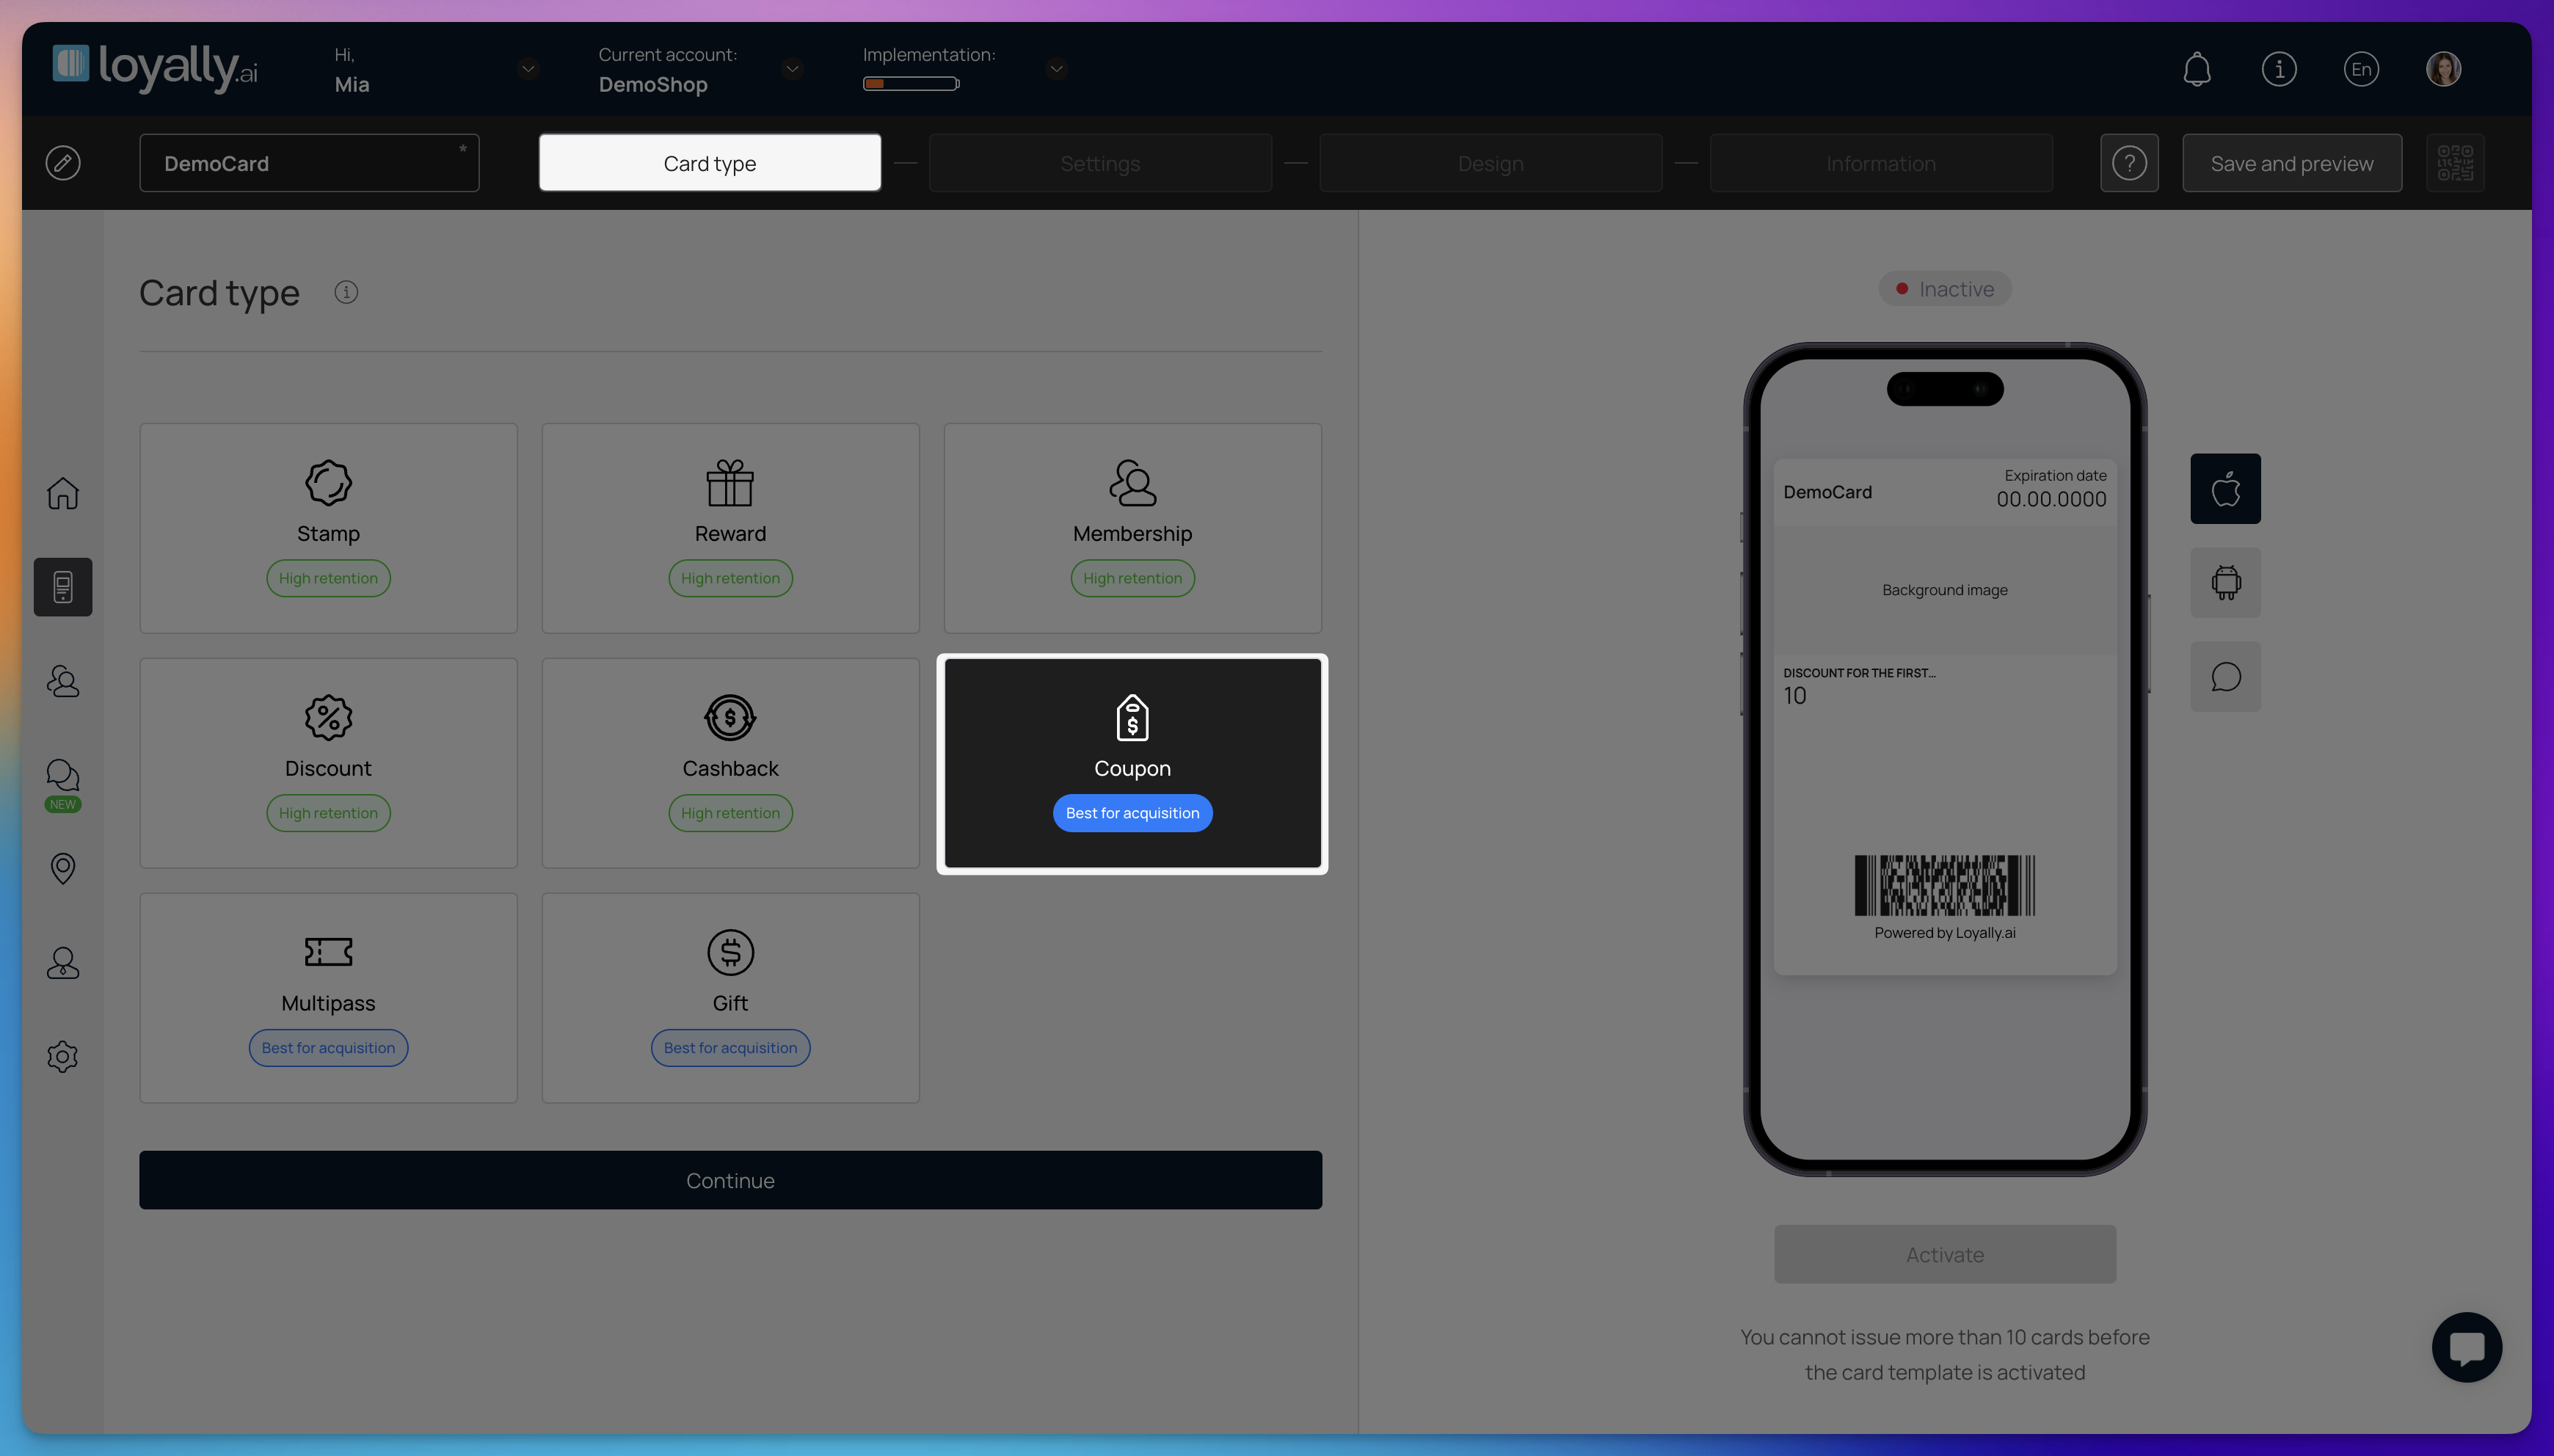
Log into your Loyally.ai account.
Navigate to the 'Cards' page and select 'From Scratch'.
Select 'Coupon' card type and click 'Continue'.

Card Expiration & Location(s): Set the expiry date of the card, and where the card is applicable.
Language: Select the language for displaying card information.
Coupon Transformation: Decide how the card transforms after use using 'Linked Card Template'.
Card Issuing Form: Add or remove fields that your customers will enter to get the card. Toggle fields as mandatory or unique as needed.
UTM Tracking (Optional): For tracking marketing channels (e.g., Facebook ads) to see where traffic comes from. It's helpful for marketers but not required.
Phone Masking: Select the phone number format for the card's active country.
Privacy & Consent: Options for handling privacy policy and user data consent.
Analytics Script (Optional): Add tracking script (e.g. Google Tag Manager) to card installation pages.


Visual Elements: Upload your logo, background image, and icon for push notifications.
Color Scheme: Customize card colors (background, text, centerpiece).
Field Display: Set up what fields and text to appear on the card.


Descriptions & Instructions: Add promotion name, your company name, and how many points are given when the card is issued.
Referral & Redemption: Define referral criteria and points awarded to referrers and referrals.
Links: Include active links (URL, phone, email, & address) for user interaction. Add feedback links for customer reviews. Insert terms of use and link to full T&Cs.
Issuer Details: Fill in your details (company name, email, contact number).

Preview: Review your card and ensure it meets your expectations.
Activate: Click 'Activate Card' to make the card live.
Click 'Download PDF' to print a display for your table or counter, perfect for showcasing your new card. Share the QR code or link with your customers - they can simply scan or click to discover what you've created. Let's start spreading the word about your exciting new card! 🚀